How to add an AI chatbot to WooCommerce
WooCommerce stores get the most value from Aube AI when product and order context are connected. This guide covers the recommended setup.

Setup checklist
- WooCommerce is active on the site
- Aube AI plugin is connected
- Products are synced
- Order support rules are configured
- Refund and return policies are in the knowledge base
Install the Aube AI WordPress plugin
Install and activate the plugin from WordPress Admin. Aube AI works on WordPress sites with or without WooCommerce, but WooCommerce adds product and order context.
Confirm WooCommerce is active
Make sure WooCommerce is installed, active, and using the same WordPress site where the Aube AI widget will appear.
Connect product and order access
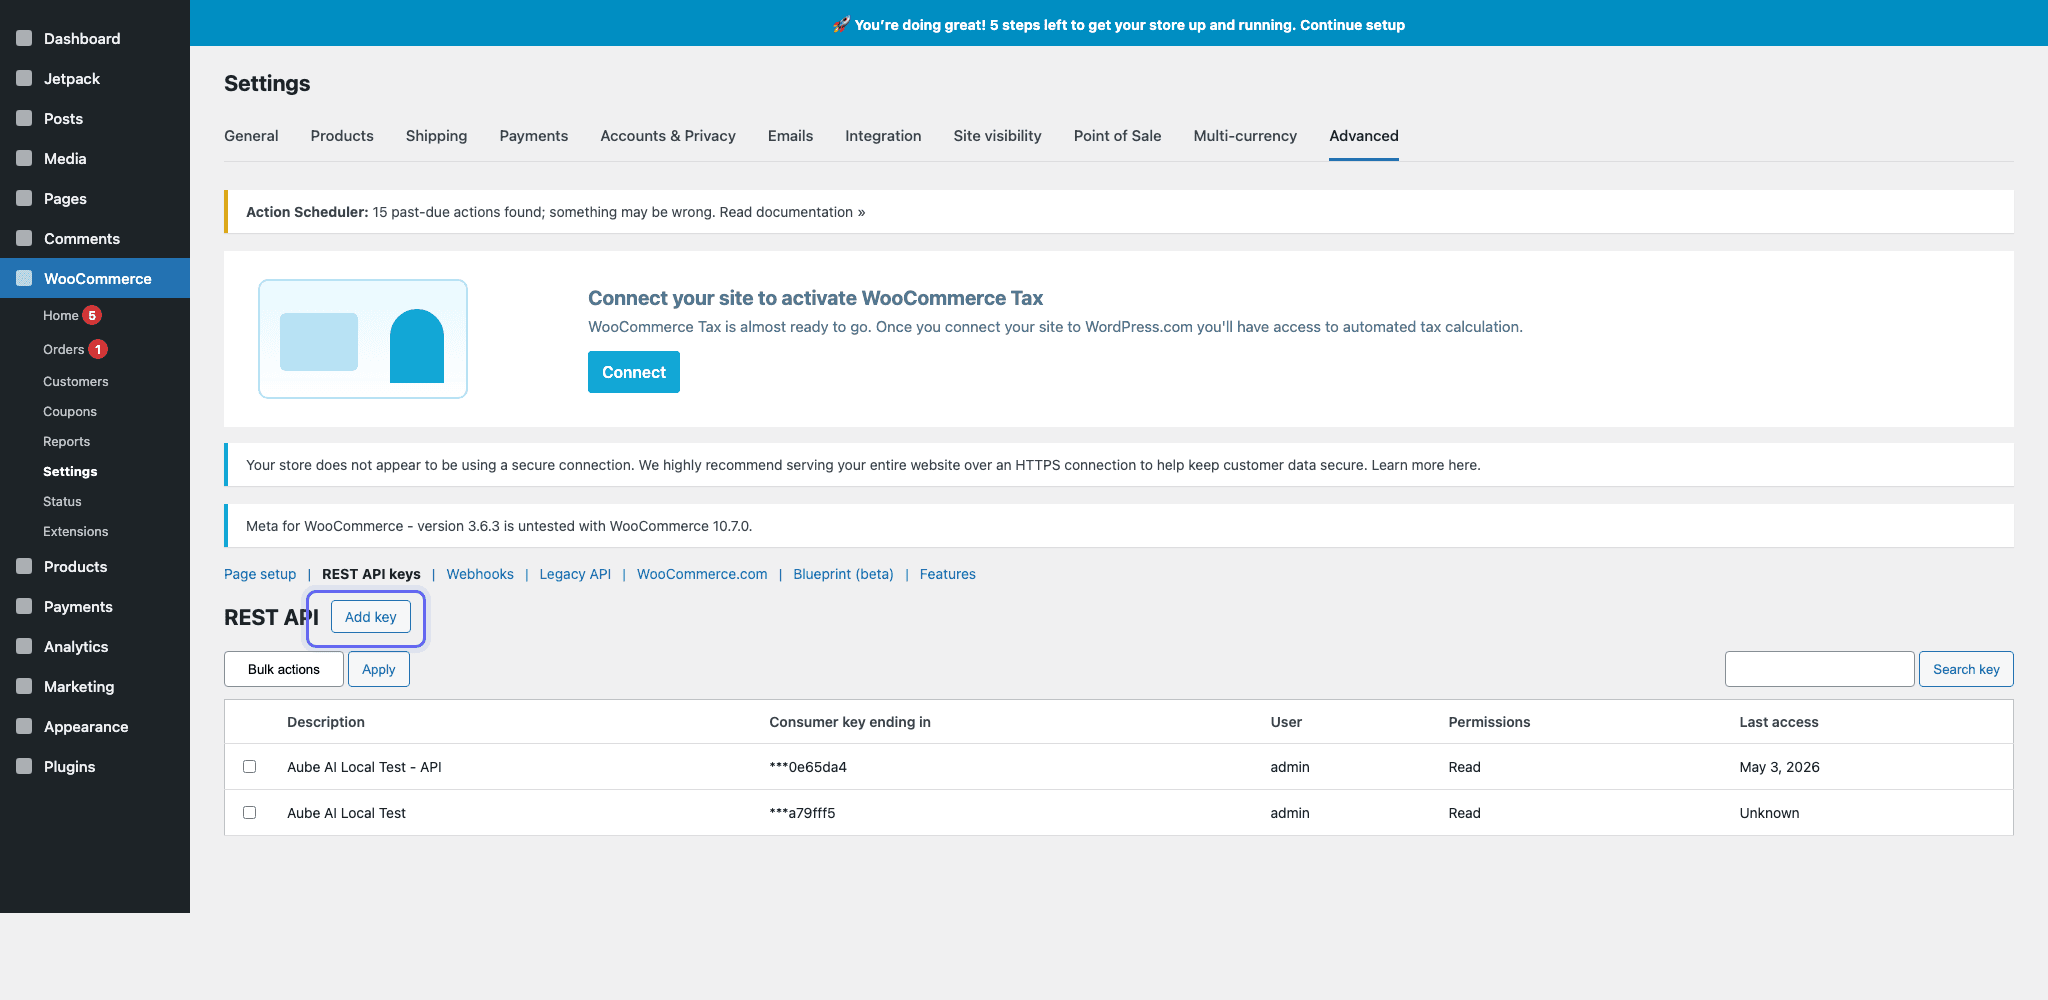
In the Aube AI dashboard, follow the WooCommerce connection flow so the assistant can use product data and help with order-related questions. For manual plugin installs, create WooCommerce REST API keys from WooCommerce > Settings > Advanced > REST API keys > Add key, then paste the consumer key and secret into Aube AI. Copy the secret before leaving WooCommerce because it is only shown once.
Sync products and categories
Run the first catalog sync, then confirm product names, descriptions, stock status, and categories are visible in the dashboard.
Write policies for edge cases
Add return windows, refund rules, shipping regions, warranty terms, and manual escalation rules. These entries keep answers consistent with your store policy.
Ready to publish the chatbot?
Create your Aube AI account, connect your store, and test your first customer conversation from the dashboard.
Set up WooCommerce support